Do this by first selecting your artwork.
Then go to the swatches panel and press the New Color Group button.
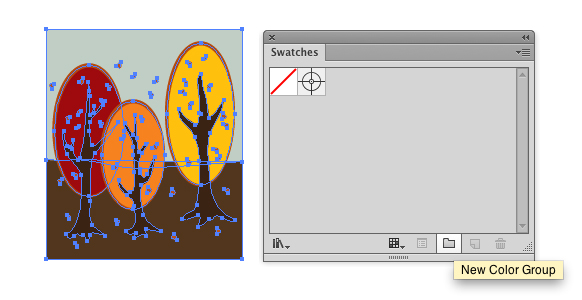
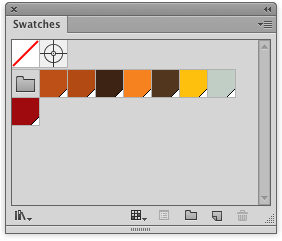
You can see, that all swatches now have a little triangle in the lower right corner. The triangle means that they are all Global Swatches. You can read about the differences between Process, Global and Spot colors in my previous blog post here.
In the artwork I am using in this example, I have to orange colors, that are very similar to each other. I can´t see any reason to have both of them, so why not merge them?
In order to do so:
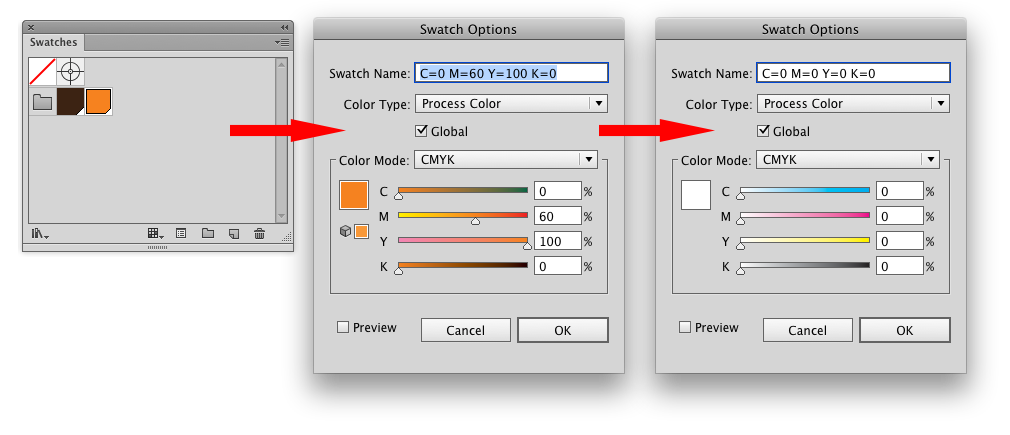
- First select the swatch you want the color will be
- Then select the swatch you want to overwrite by holding the Shift key or Cmd/Ctrl key
- Then choose the Merge Swatches command from the Drop down menu in the upper right corner

The two orange colors will be merged and the Artwork is updated “automagically”.
This can also be used more extensively. Now, let us say, that I want my artwork to be only Black and White.
By pressing Cmd/Ctrl key or Shift key I choose all swatches I want to be Black and merge them the way I described earlier.
I do the same with all swatches I want to be White
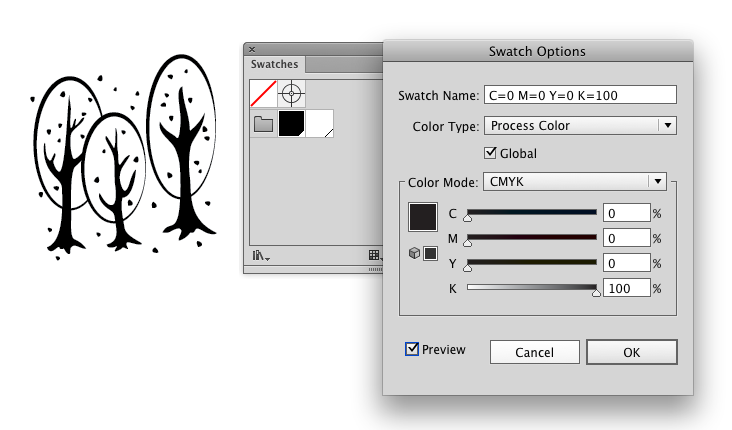
I end with only two swatches in my group. Then its very easy to change the colors. I just double click on the swatch I want to be White and change it in the pop up menu.
And do the same with the Swatch, that is supposed to be Black.
This is a very simple way to manage your swatches. There are a couple of other smart tools in Illustrator, which help you to recolor artwork. I plan to explain them in my future posts. Let me know in the comments below if you find any smart uses for your artwork 😉