Streamlining Supplier Communication: The Next Steps
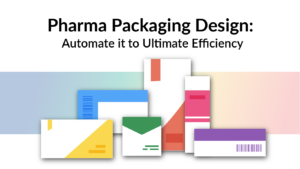
Welcome to Part 2 of my series on automating apparel design. In my first post, we explored automating the creation of sales presentations. Now, we dive into creating supplier files and labels after your designs get the green light. Turning designs into reality involves creating supplier files and labels. Let’s explore how to streamline this essential process.
Customizing Automation to Fit Your Needs
This blog post presents scenarios that show how automation could simplify design tasks. These examples serve to illustrate potential applications. It’s important to understand that these are just examples. In reality, many aspects of automation can be customized to fit different companies’ specific needs and workflows. Whether it’s adjusting the steps for creating supplier files and labels or tailoring scripts to your project management tools, there’s flexibility to ensure automation works for you. To help you get started, check out my collection of free scripts designed to enhance your design workflow.

Creating Supplier Documents with Automation
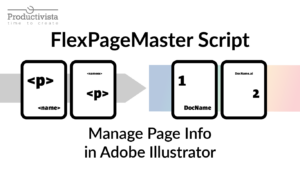
The ‘Create Supplier Docs’ script simplifies generating necessary files for production. When you run it, a dialogue box with two tabs appears: Artwork and Labels.
Artwork
Imagine your company decides to produce versions A and C of the 1st design and versions D and C of the 2nd design. You’ll find options to select these specific versions in the script’s dialogue. The script dynamically generates these options, reflecting the range of available design versions and colour variations.
This ensures you only prepare and send out the exact specifications needed for production, reducing the possibility of errors and miscommunication.

Flexible Data Input
It’s worth noting that the script can be customized to pull data from systems or spreadsheets automatically. The script works with both advanced systems and basic spreadsheets for design tracking. It can be adjusted to your data sources. This flexibility ensures that no matter how your company operates, the script can be tailored to fit your workflow.
Adding ‘Additional Info’ for Precision
I believe having a section for ‘Additional Info’ in the dialogue is helpful. This could include specifying the file’s unique name, adjusting the print dimensions on the product based on its size, or even adding the designer’s name. Essentially, this space allows for extra details that ensure each design meets precise requirements. It opens the door for incorporating other customized options that can further refine the production process.
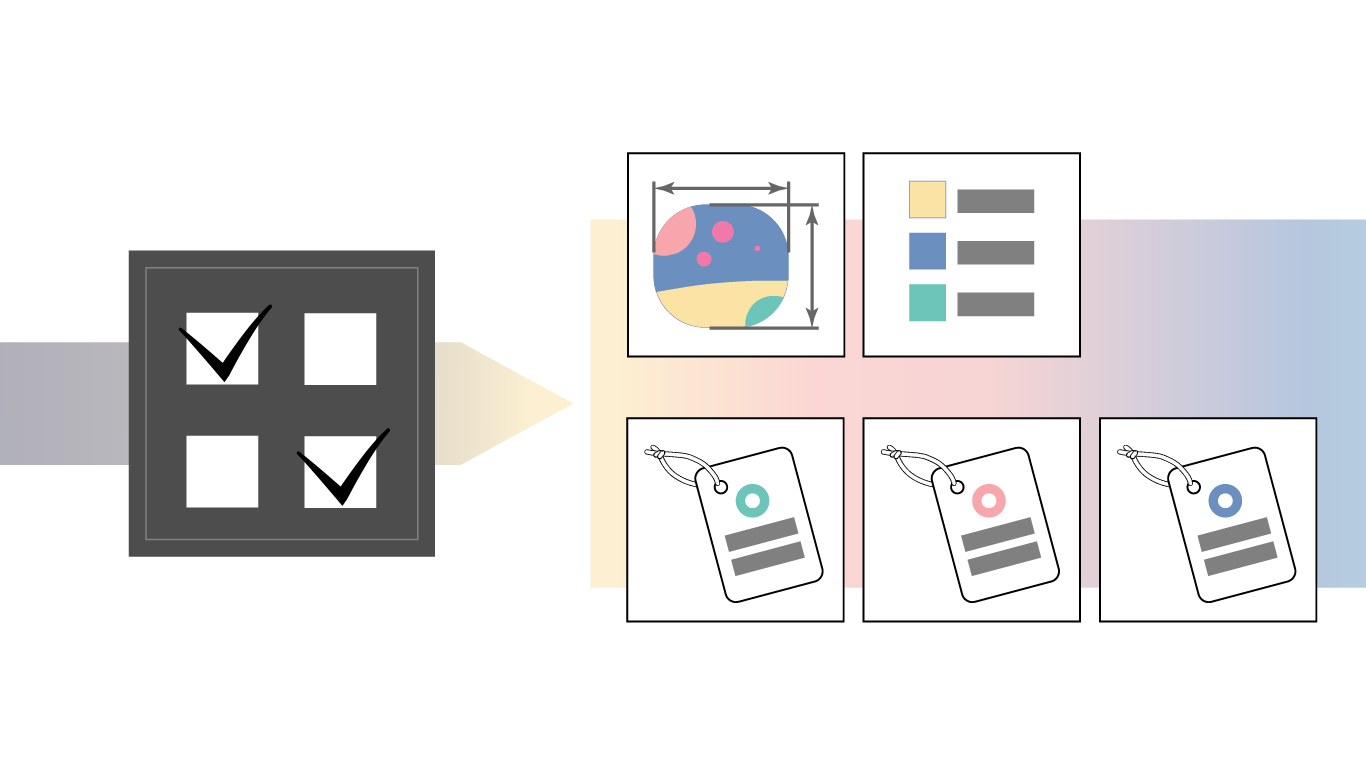
Final Supplier Print File Example
Below is an example of how the final supplier print file might look after incorporating all the details and customizations discussed earlier.

Labels
Selecting the Right Template
In most companies, labels follow standard designs, serving as the basis for templates. To streamline this process, I’ve included a field in the dialogue where designers can easily select the appropriate template for their projects. This feature ensures consistency across products while simplifying the label-creation task for designers.

Achieving the Final Product
Use a label template, import variables, and save files from the dialogue to get the finished product. This streamlined process can yield a single or multiple-label file if your project requires different labels for each design and colour variation.
The efficiency of this script means that, with just a few clicks, you can generate ready-to-use label documents tailored to your specific needs. The final result is a set of professional, precise labels, an example of which can be seen in the image below.

Creating New Labels from Scratch
What if your project requires a label design that is not covered by your existing templates? The workflow allows for this level of creativity as well. You can specify which variables must appear on your labels, such as size, material, care instructions, etc. Upon selection, the script generates a document adhering to a standard layout, which you can customize further—adjusting the size and refining the design as needed.
An additional script can simplify precise resizing when needed. A tool akin to my ‘MockUpinator’ script could prove invaluable here, automating the resizing of label designs.
Streamlining Variable Import
In scenarios where your workflow requires importing variables from a spreadsheet, there’s more than one way to achieve this efficiently. Adobe Illustrator offers a native function designed for variable import, catering to basic needs seamlessly. However, for those seeking a more enhanced experience, the VariableImporter script (info and video) by Vasily Hall is an invaluable tool. This script simplifies the process, making it quicker and more intuitive to bring detailed variables directly into your Illustrator document.
Finalizing Labels with SmartLabels Script
After importing your variables, the SmartLabels script brings the final touch. This script arranges each label’s layout based on your imported variables, ensuring every detail is accurately applied. Beyond layout adjustments, the script can also be modified to clean up the document by removing unnecessary information like unused swatches and symbols, outlining the text and saving the document in the required formats. You can send the documents to manufacturers for production and to the customer for approval. A GIF below shows how the script turns data into professional labels seamlessly.

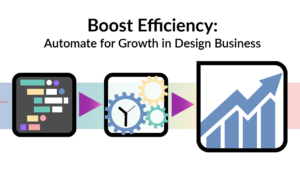
Looking Ahead: The Next Steps in Automation
As we finish our look at automating supplier documents and labels, we see many ways to make design smoother. What’s next? Getting label files ready before printing might be your next step. This move can streamline your workflow even more, ensuring efficiency and precision in production.
I hope this post has sparked some ideas for you. May it inspire you to examine your processes and find new opportunities for efficiency. Automation isn’t just about saving time; it’s about enhancing the creative space for designers to innovate.
Now, I invite you to join the conversation. Don’t be shy—leave a comment and share your own automation insights. Dive into my collection of free scripts for inspiration, and if questions or the need for assistance arise, reach out to me. Together, let’s continue to innovate and extend the reach of design automation.