Introduction to Design Efficiency
In today’s fast-paced design world, efficiency isn’t just a goal; it’s a necessity. Imagine turning the most time-consuming aspects of your design process into a smooth, automated journey, leaving more room for creativity and innovation. This isn’t just a dream—it’s a reality that many project managers and business owners actively pursue. By rethinking and streamlining workflows, we can transform the mundane into the extraordinary, making room for what designers love most: creating. Let’s dive into how automation in the design process can redefine efficiency, reduce errors, and unlock new productivity levels.
In this blog post, I’m diving into the practicalities of automation within the apparel industry, a sector ripe for innovation. By walking you through a real-life example, I aim to show how preparing a t-shirt design for sale can be transformed through automation. I will share some of my thoughts on different options to automate these processes and would be thrilled to hear if you have any better ideas or experiences. Additionally, for those interested in exploring these automation solutions further, feel free to check out my collection of free scripts designed to streamline your design workflow.
The Crossroads of Creativity and Automation
One aspect of this journey that I find particularly exciting and challenging is the intersection where the creative process meets automation. At this point, I don’t claim to have all the answers—only ideas and potential solutions. In this post, creating t-shirt prints begins as a purely creative endeavour, involving the designer’s vision in crafting artwork for placement prints and selecting textile colours. It’s important to note that what I’m sharing in this post is merely a sketch of how the automation process could be implemented. It’s a starting point that can and should be tailored to meet specific needs and workflows.
A Case for Templates
Imagine the Key Account Management (KAM) department hands me a project for a t-shirt collection. I start with designing prints and picking fabric colours, all while keeping the client’s wishes in mind. When the designs are ready, I create a visual presentation for the sales team. After the client makes their picks, it’s time to work on the supplier files and labels. I’ll get into those in later posts.
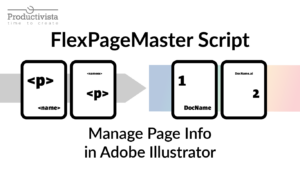
The Anatomy of a Structured Template
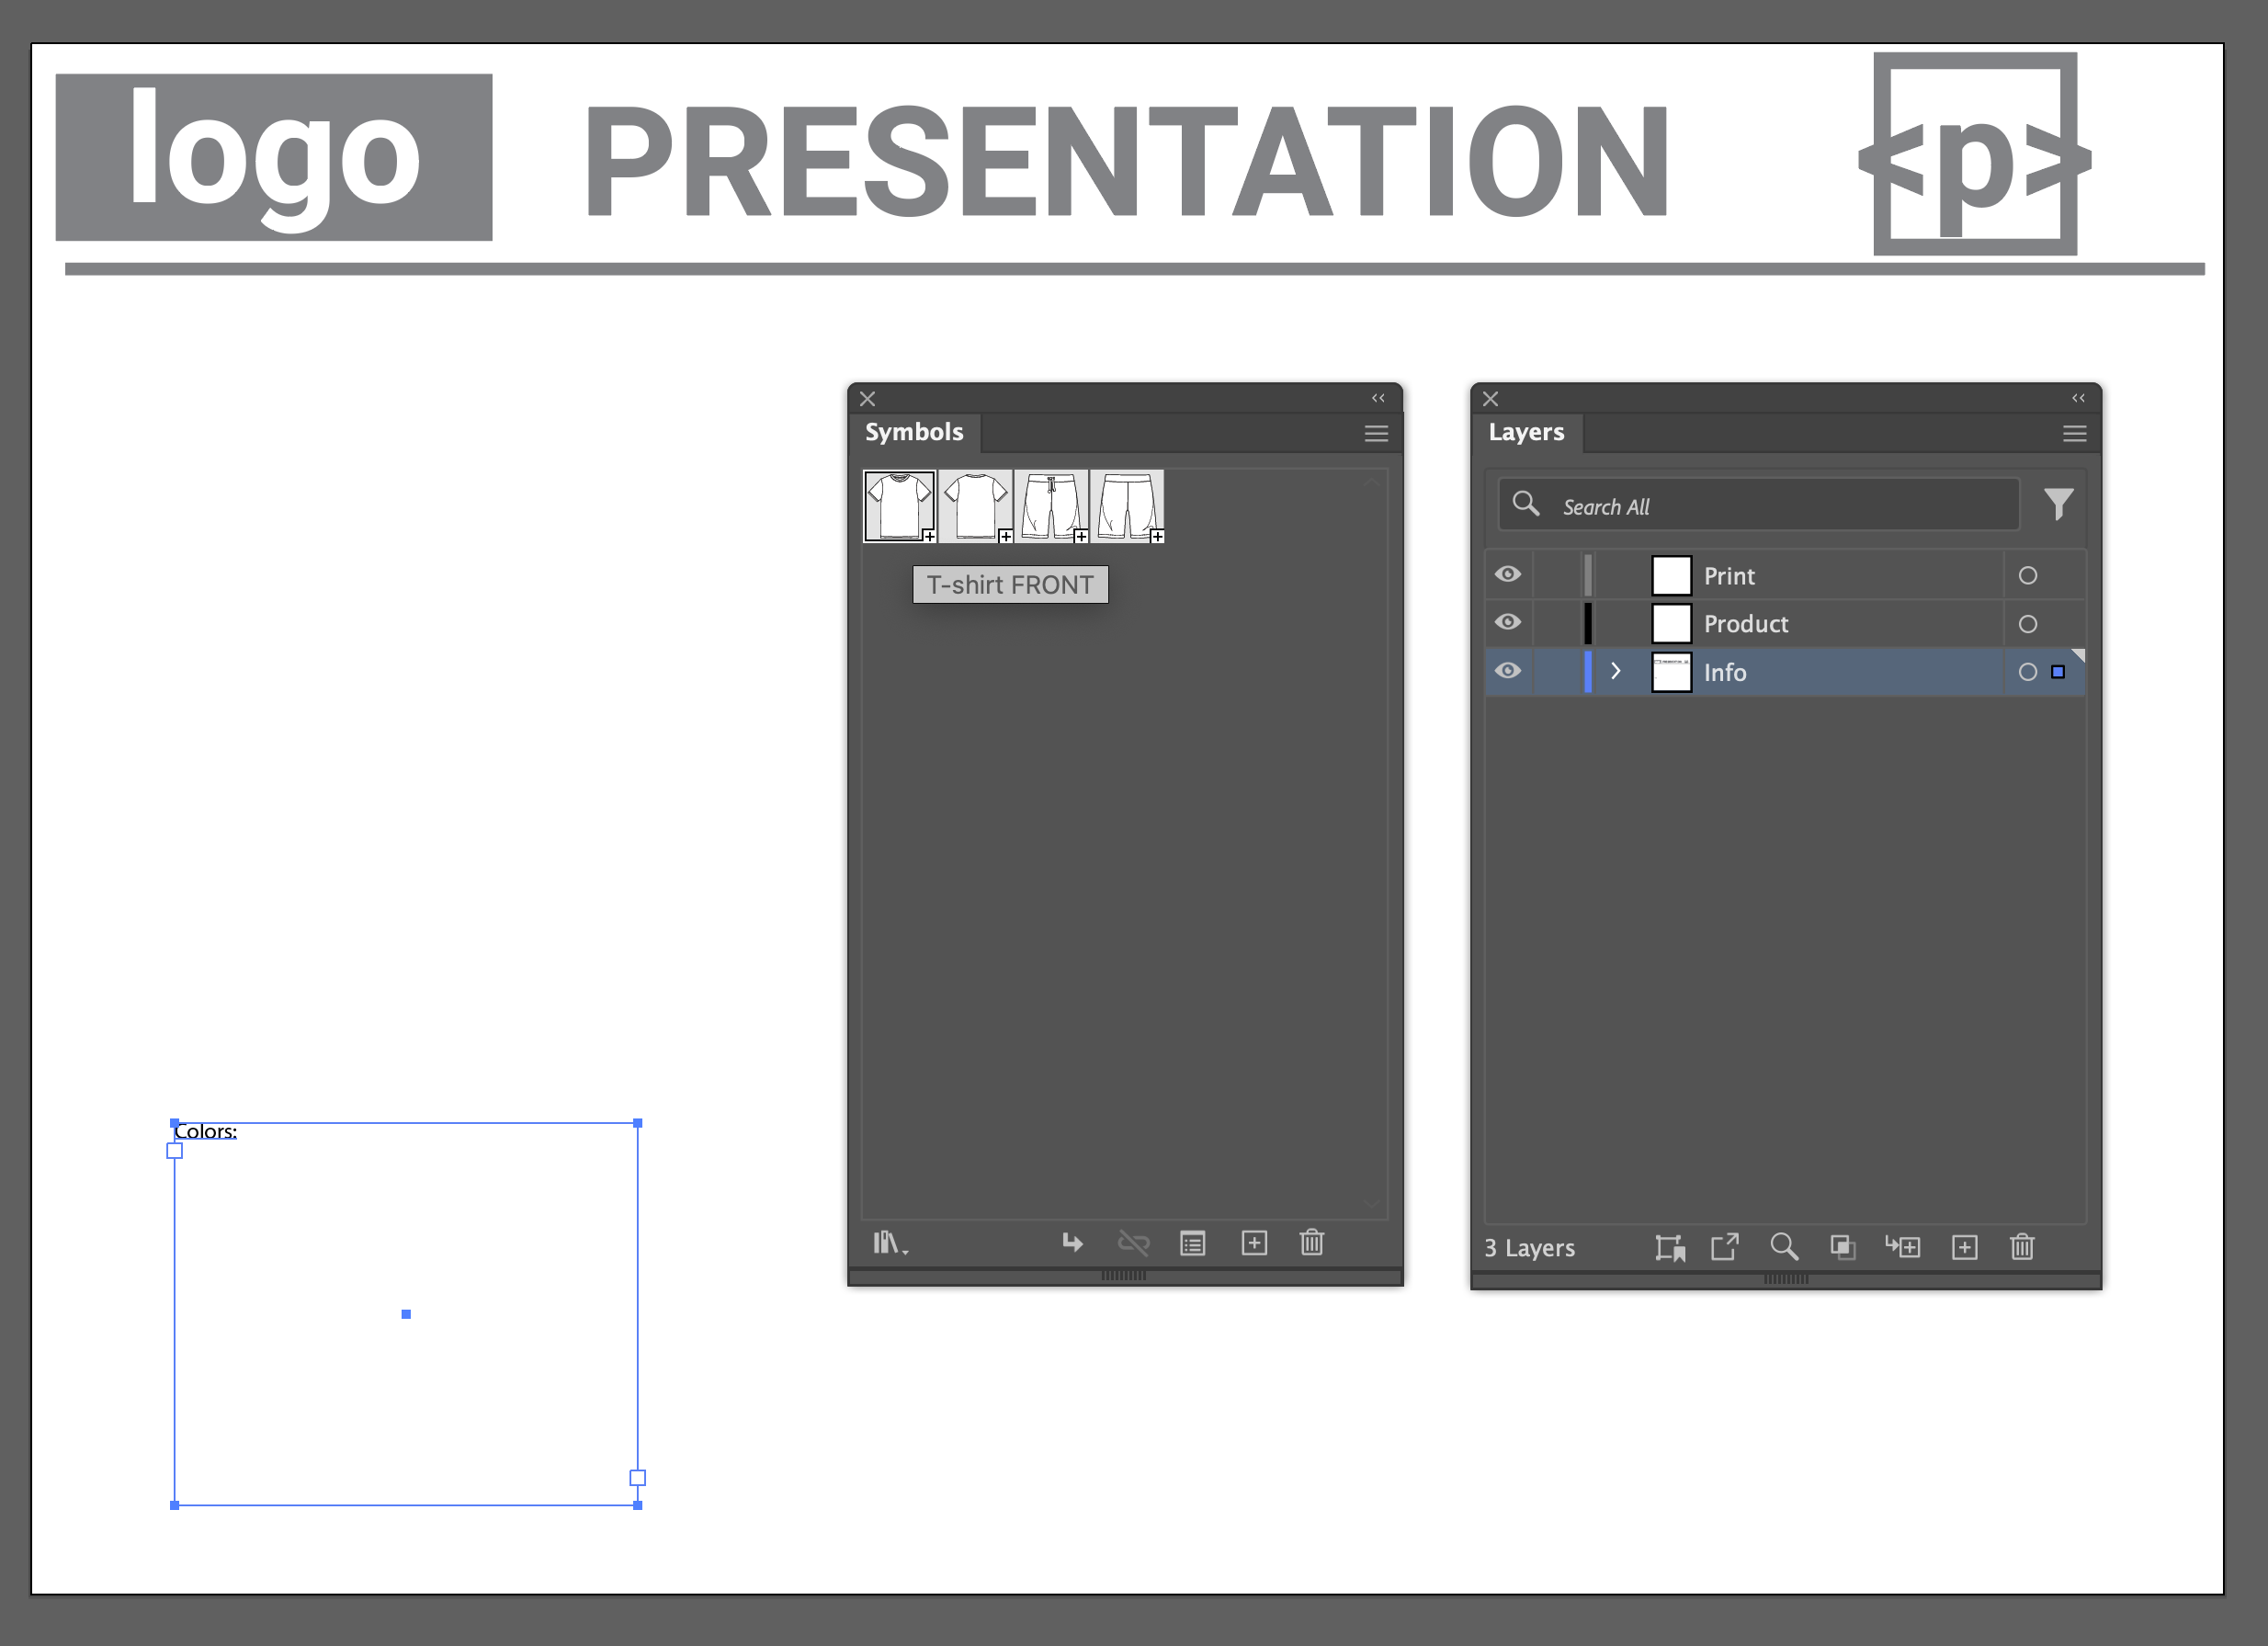
I’m highlighting the presentation template for clarity and focus in this blog. Templates for labelling and supplier files will be covered in future posts. They’re all set with the right tools – symbols, brushes, and layers – ready for automation. This setup saves time and sparks creativity. My previous blog post tells you more about templates enhancing your design process.
See the image below. It shows an artboard with a header, symbols, and layers, all organized for effective automation.
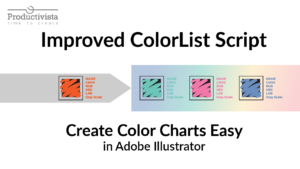
Create a Presentation with Script
After designing the initial print, I’ll display it in the three client-specified colours. Swatch numbers and colours can be added to the document in various ways; here, I’ve chosen to copy Pantone numbers to a ‘Colors’ text field.
Here’s a step-by-step guide on what my script does to make this happen:
Step 1: Activating the Workflow
With my custom script panel ready, I select ‘Create Presentation.’ A dialogue box confirms whether to proceed with the current file. Choosing ‘Yes’ activates the following steps.
Step 2: Automating Artboard Setup
The script promptly adds a new artboard and transfers all the essential elements, setting the stage for the new variations.
Step 3: Duplicating and Displaying Designs
It then duplicates the original t-shirt with the print design and positions it on the first artboard, ready for colour updates.
Step 4: Applying Color Variations
The script updates the t-shirt colour to match each Pantone colour specified by the client. To aid communication, a cross-field label is added under each shirt.
Step 5: Visualizing the Final Product
Finally, the script places the chosen textile colour under each shirt, offering a clear preview of the final product. Once prone to human error, this process is now a streamlined and reliable system thanks to automation.
Choosing ‘No’ in Step 1 alters the flow: it rearranges the existing artboard instead of adding a new one, repositions the product, and adds a version/page number. With a fourth colour added, the layout adjusts slightly for clarity. The script also cleans the document by removing unused elements, as shown in the GIF below.
Flexible Responses to Client Changes
Colour Updates
What happens if there’s a sudden pivot and the customer decides on a different fabric colour? No problem. That’s where my ‘Update Colors’ script comes in handy. Adjust the items to the new desired colour, execute the script, and watch as it updates where it’s listed. This not only saves time but ensures consistency across the presentation. Witness this seamless colour transition in the GIF below.
Print Update
 But what if the customer circles back with new print designs or unexpected ideas? A potential ‘Update Print’ script can be added to the workflow panel to replace an old logo with a fresh one. When new designs need to be added to the presentation, I have two choices: develop a separate script dedicated to this task or enhance the existing ‘Create Presentation’ script to handle new inputs. Either way, the goal remains the same—seamless integration of customer feedback into the ongoing project, keeping the workflow flexible and responsive.
If you’re presenting a collection with many items, like swimwear for the next season — including a swimsuit, a bikini, flippers, and a cap — and they fill up an artboard, the script can be improved to meet your needs. It can copy the entire artboard and update the colours. This way, you can easily adjust the presentation to different colour schemes.
The Road Ahead: Automating for Creativity and Efficiency
As we wrap up this journey into the transformative power of automation in apparel design, I hope you’ve found inspiration and insight into how these tools can redefine your creative workflows. Automation is not just about saving time; it’s about unlocking new potentials for creativity, allowing you to focus on what truly matters. By reimagining our processes through the lens of automation, we can discover new efficiencies and elevate our designs to new heights.
I encourage you to look at your design routines with a fresh perspective, identifying areas where automation can bring about meaningful change. Remember, the goal is to enhance creativity and productivity, propelling your projects forward in ways you might not have imagined before.
As we move forward, let’s keep the conversation going. I’m eager to hear how you’re integrating automation into your design processes and how it is impacting your work. Together, we can navigate this evolving landscape, embracing the challenges and opportunities of automation.


2 Responses